
🎨 User Interface
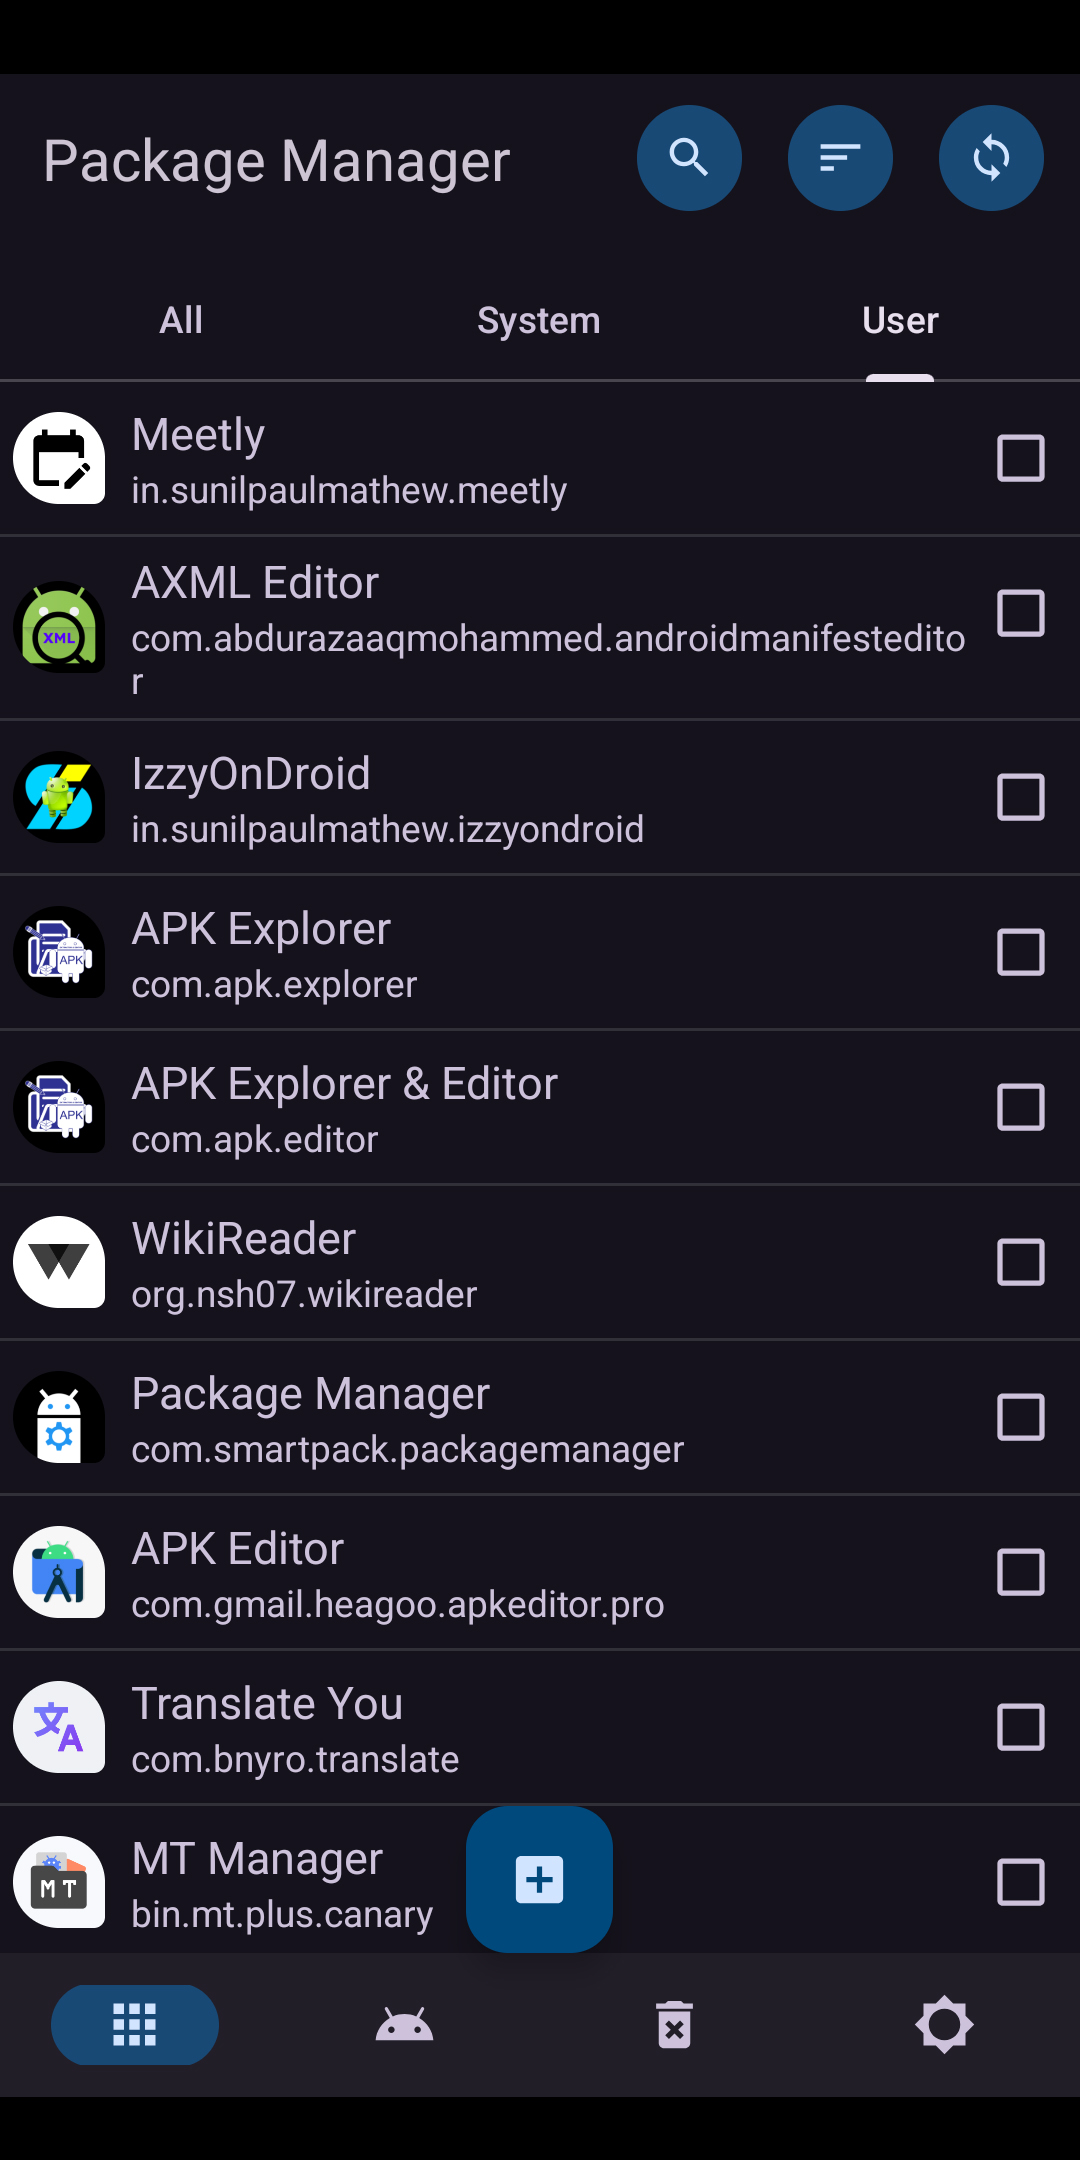
Screenshot of the main UI of Package Manager
- Search – Search and categorize applications by name or package ID.
- Sort – Sort applications by name, package ID, size, or installation/update date. This option also allows reversing the application list order.
- Reload – Reload the entire application list.
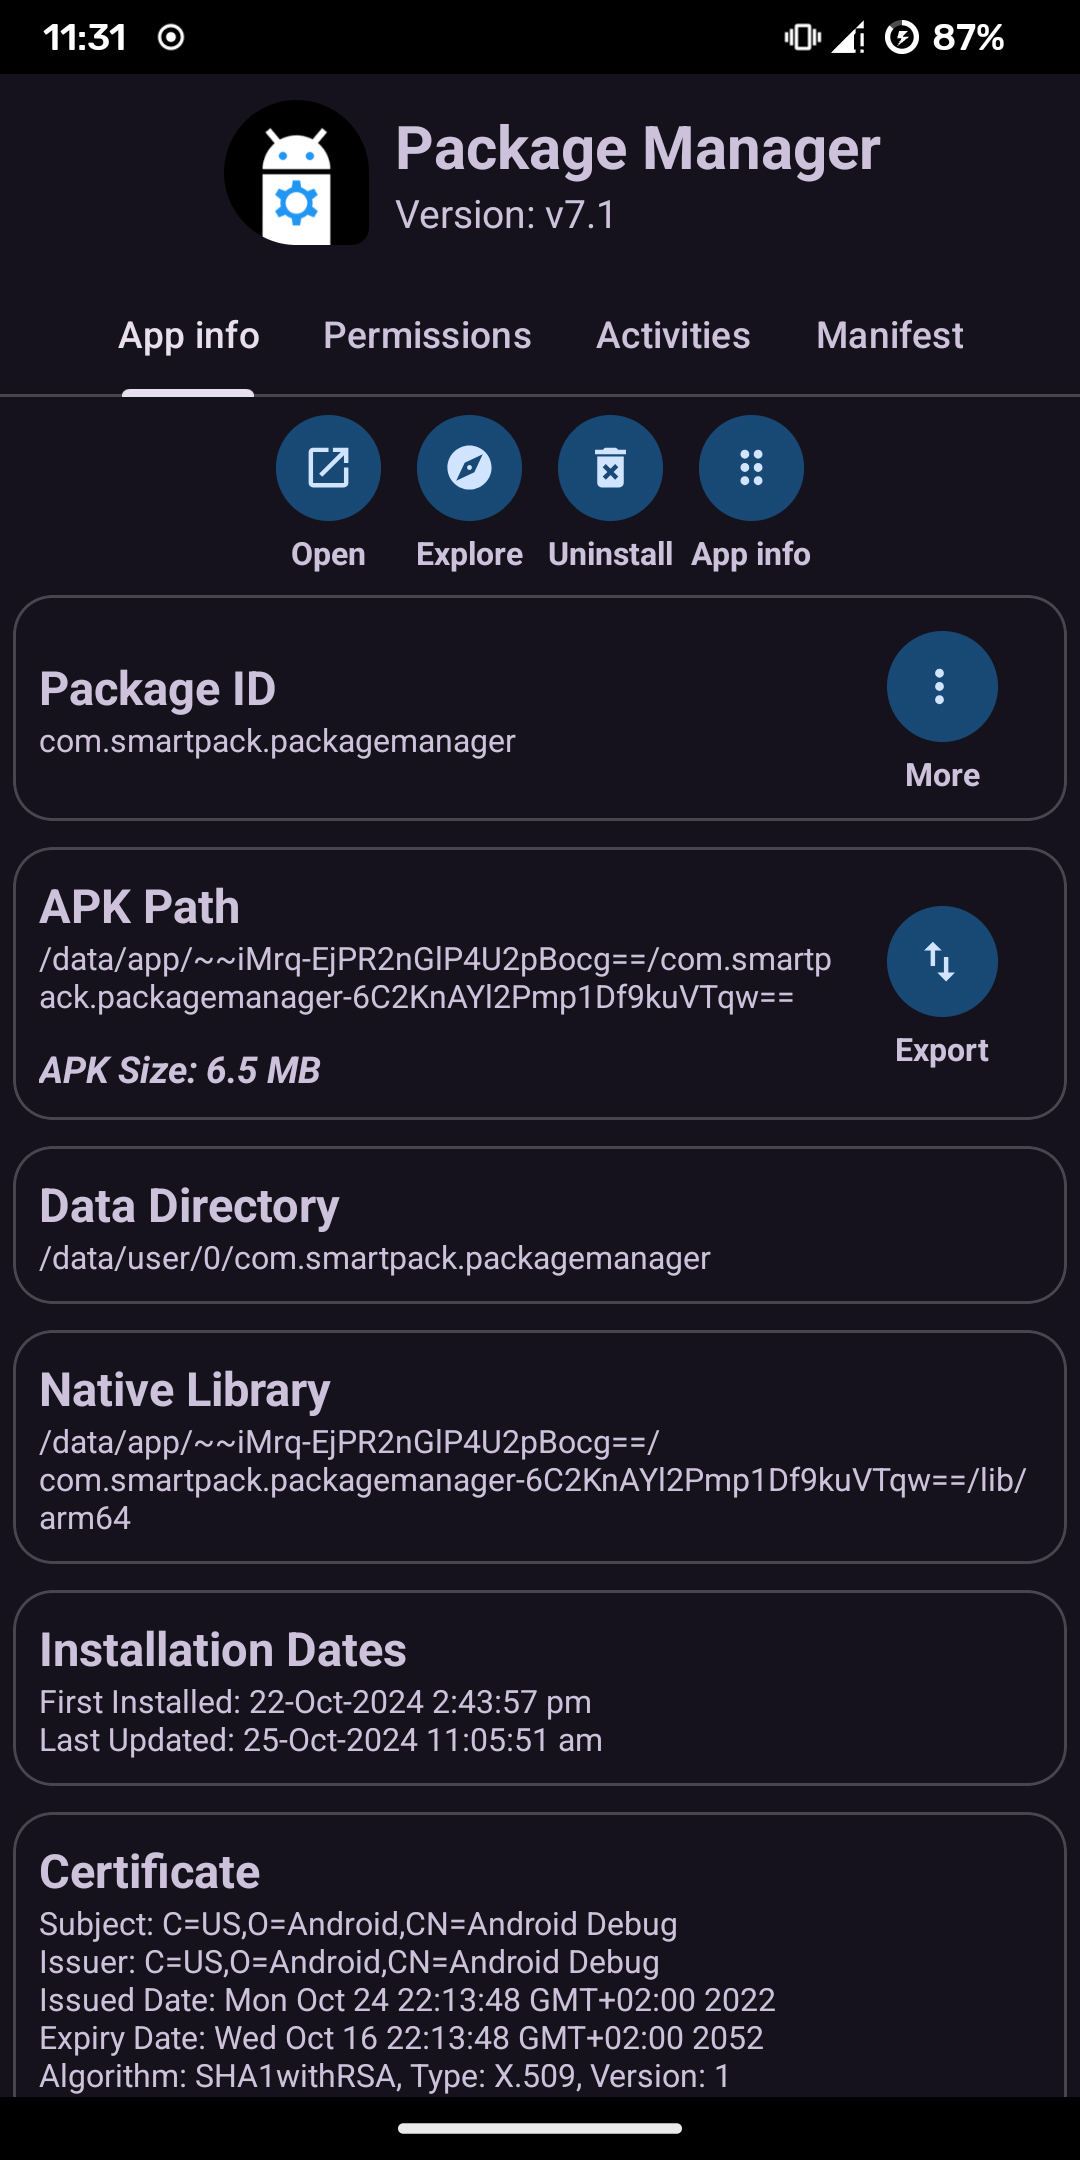
Screenshot of the App Info page of Package Manager
- Version – Current version of the app
- Package ID – The unique application identifier, resembling a Java package name (e.g., com.example.app). This ID uniquely identifies the application on the device and in app stores.
- APK Path – The directory where the APK file(s) of the selected application are installed
- Data Directory – The directory containing the app’s data files
- Native Library – Directory storing the required native libraries for the app
- Installation Dates – Dates when the application was first installed and last updated
- Certificate – Details about the app’s signing certificate
- Open – Launch the selected application
- Explore – Extract and browse the contents of the selected APK. Users can inspect resources and other important files that determine the app’s behavior. It is also possible to export resources (e.g., app icon) to device storage with a few clicks
- Disable/Enable – Disable an enabled app or enable a disabled app (Root or Shizuku-dependent feature)
- Uninstall – Uninstall applications, including system apps, with root or Shizuku permissions. On devices without root or Shizuku support, only user apps can be removed. For such devices, guidance is provided on removing system apps via ADB.
- App Info – Open the native Android settings page for the selected app
- Google Play – Open the app’s page on Google Play (works only if the app is published there)
- Export – Export individual APK files or app bundles to device storage. Exported files can also be shared via third-party apps
- Reset – Reset the selected app’s data folder (root or Shizuku-dependent feature)
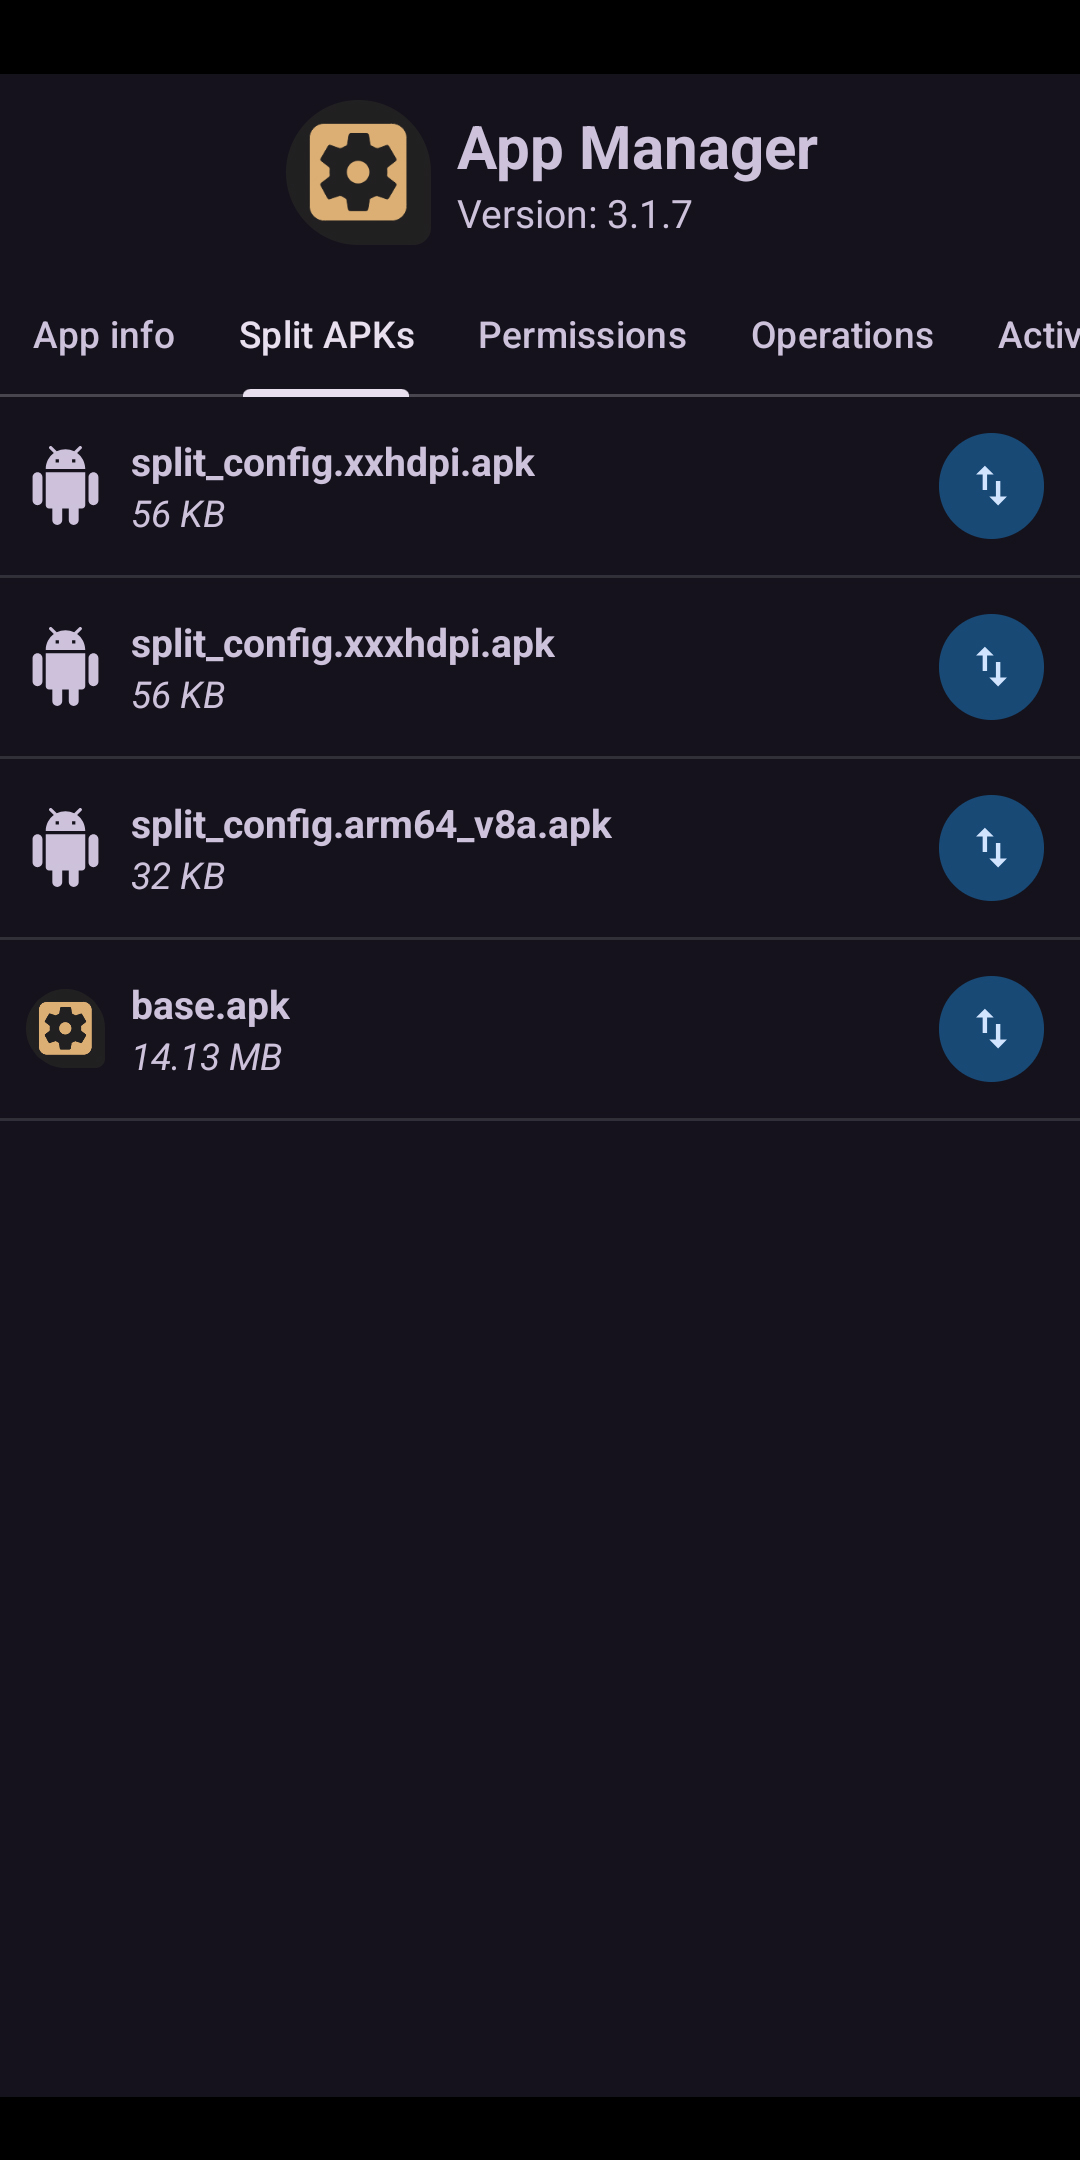
Screenshot of the Split APKs page of Package Manager

Screenshot of the Permissions page of Package Manager
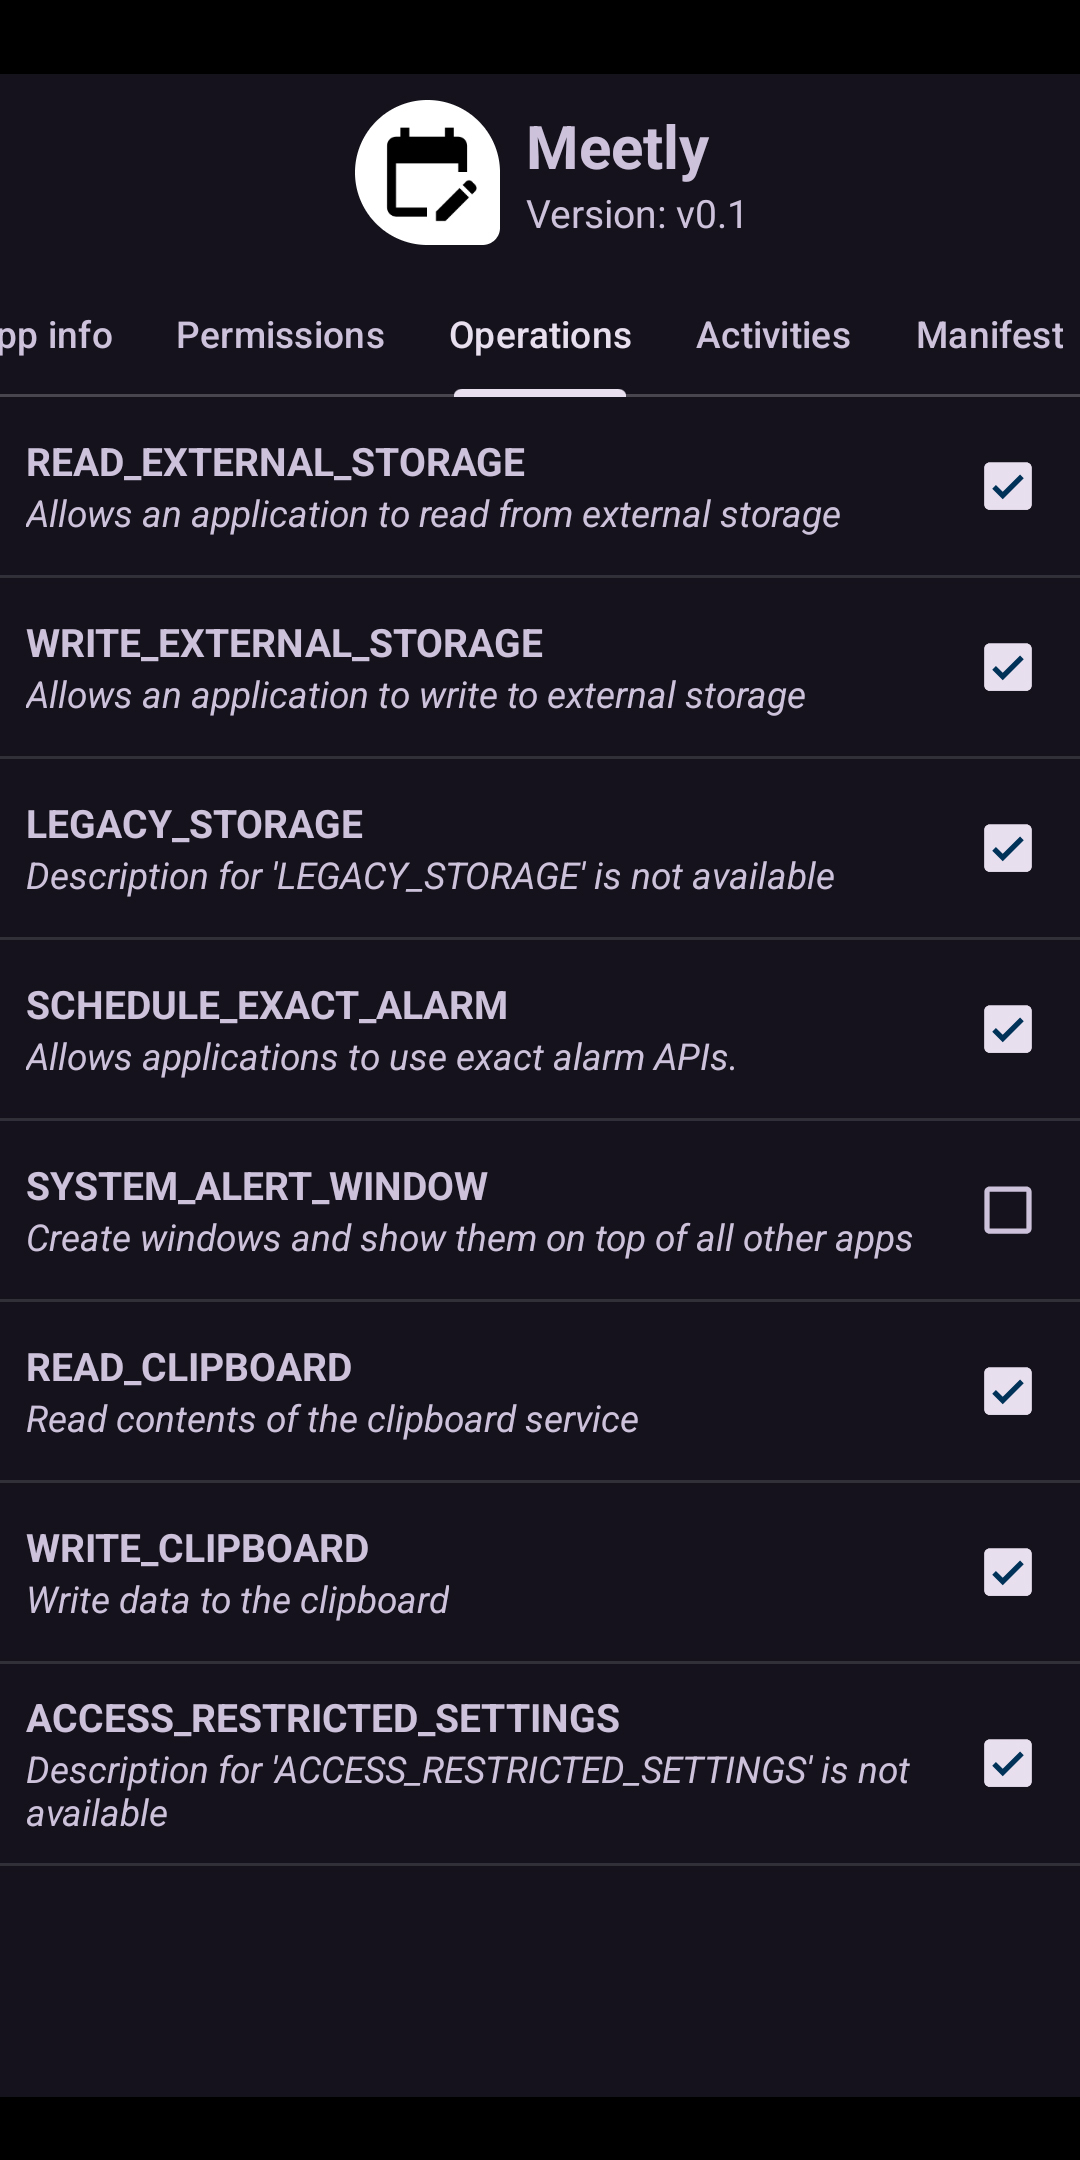
Screenshot of the Operations page of Package Manager
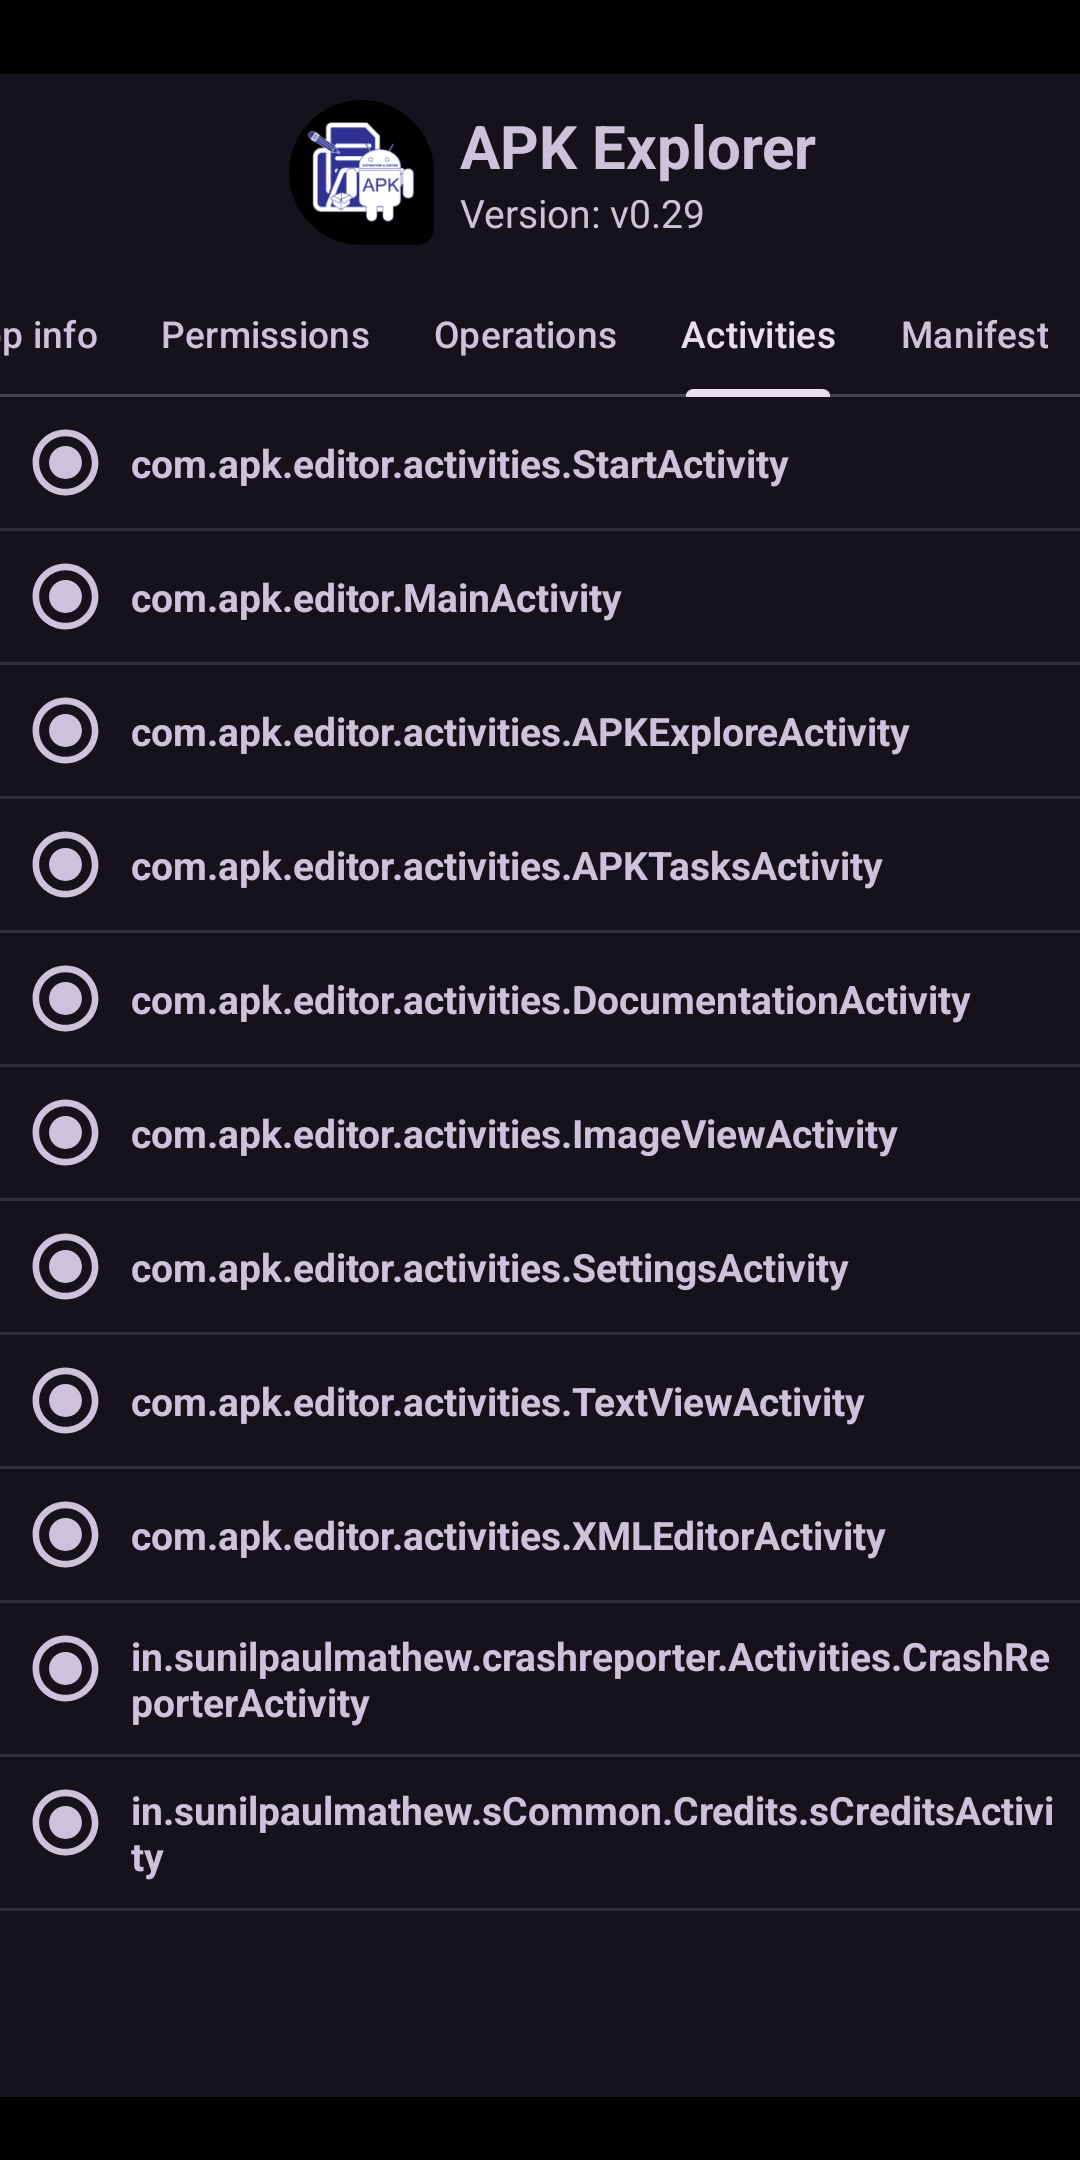
Screenshot of the Activity page of Package Manager
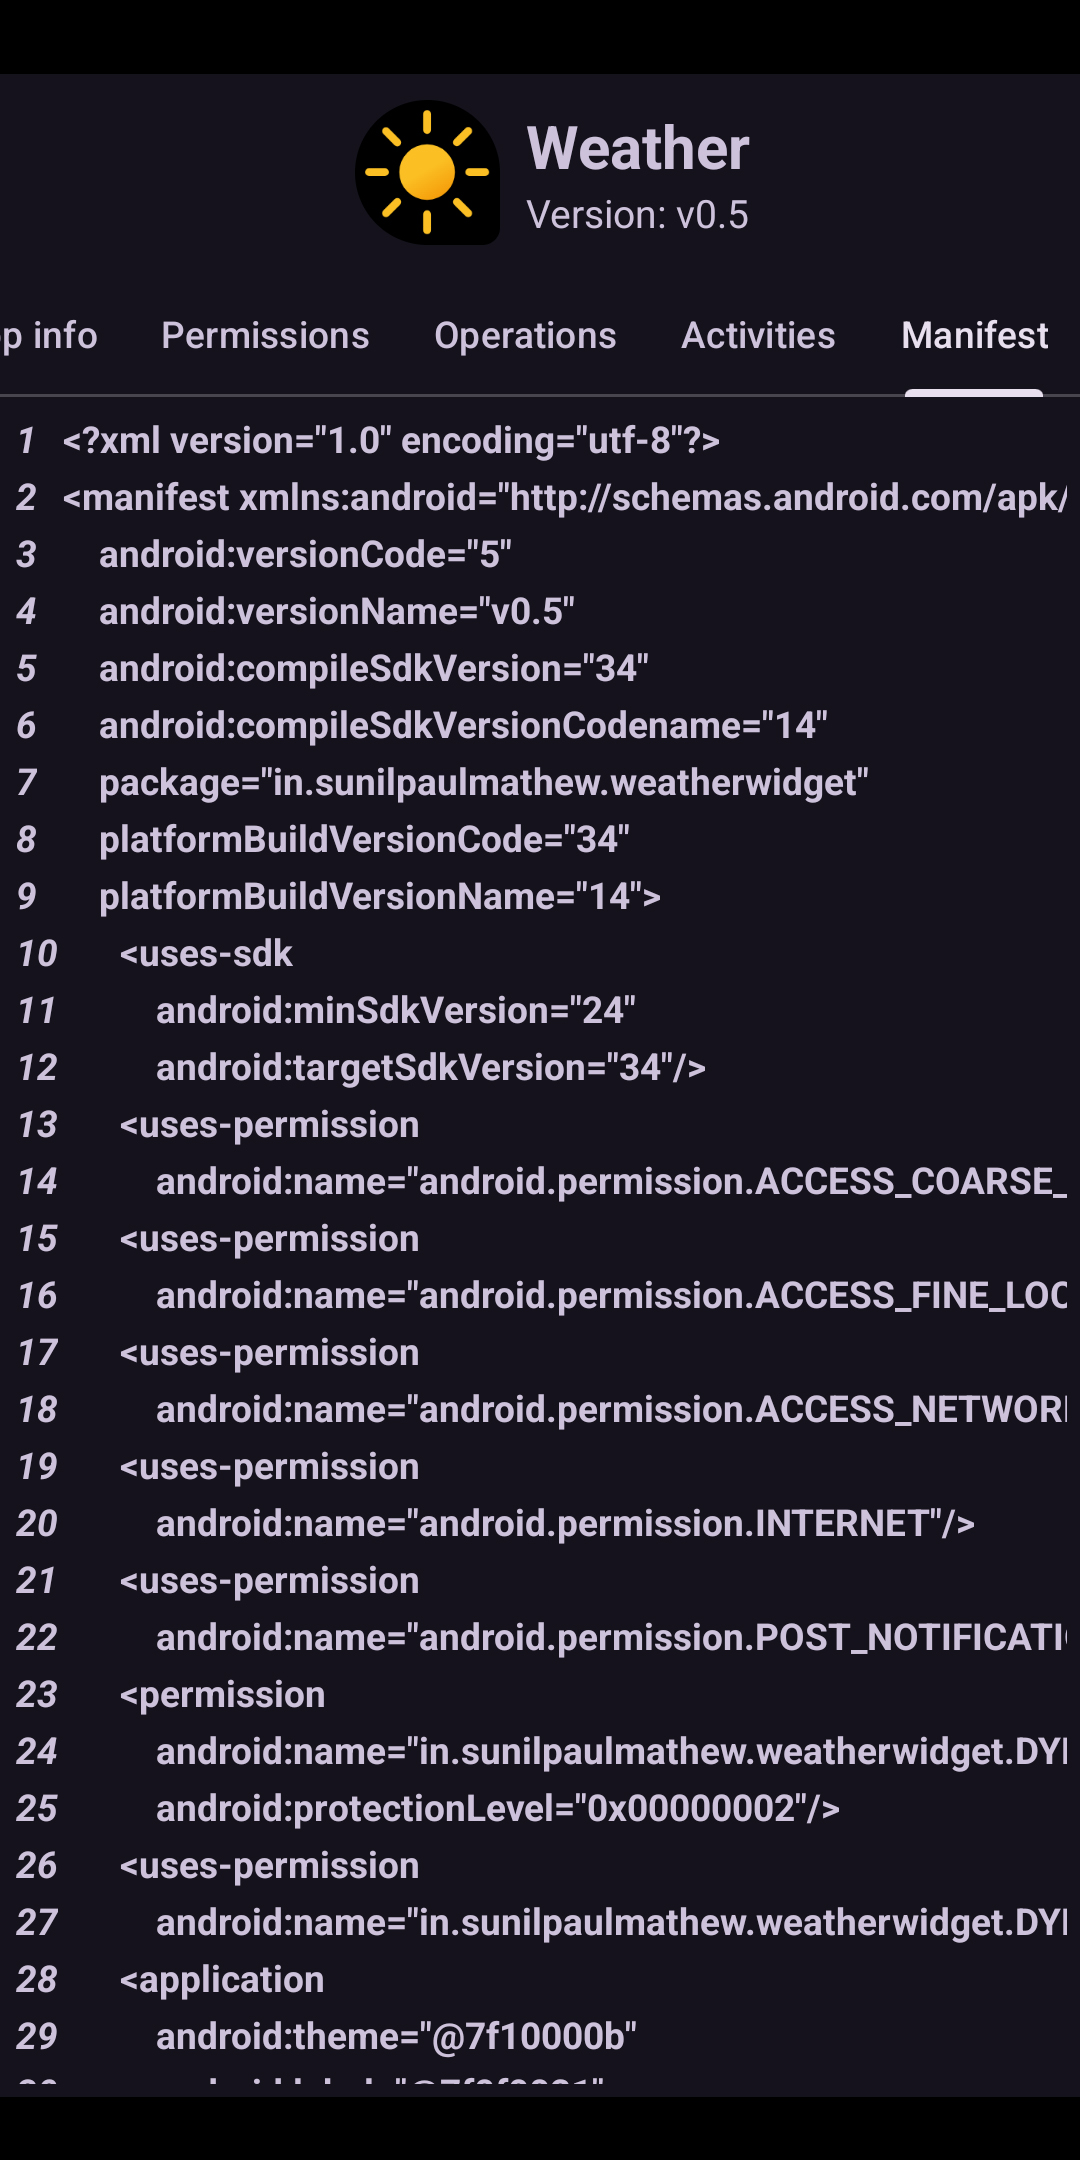
Screenshot of the Manifest page of Package Manager